OCRing the Scans
Now that I had scanned all of the relevant pages, I was ready to use optical character recognition (OCR) to extract the biographical text from the scans. This section will walk through the process of OCRing my scans.
The software that I used to OCR the scans was ABBYY FineReader. Jeremy kindly walked me through how to use this software. Furthermore, Jeremy installed this software on one of the machines in the History lab. Because FineReader is a Windows program, I booted up the machine using the Windows driver. I perfomed this OCR on the afternoon of Monday, October 17, 2016.
The actual process of performing OCR on a scan was quite simple: to summarize, I set the language to German, opened the relevant PDF into FineReader, and FineReader automatically performed OCR. I then exported the text as both .txt and .html files. I will now walk through this process in more detail.
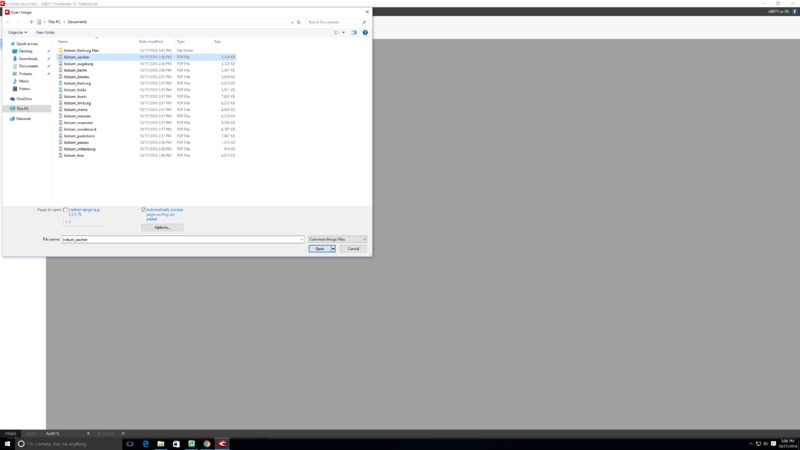
I began by copying all of my PDF scans onto the local machine. I opened FineReader and set the language to German. I then selected the file that I wanted to OCR, as shown below. In this instance, I selected the file bistum_aachen.pdf to OCR:
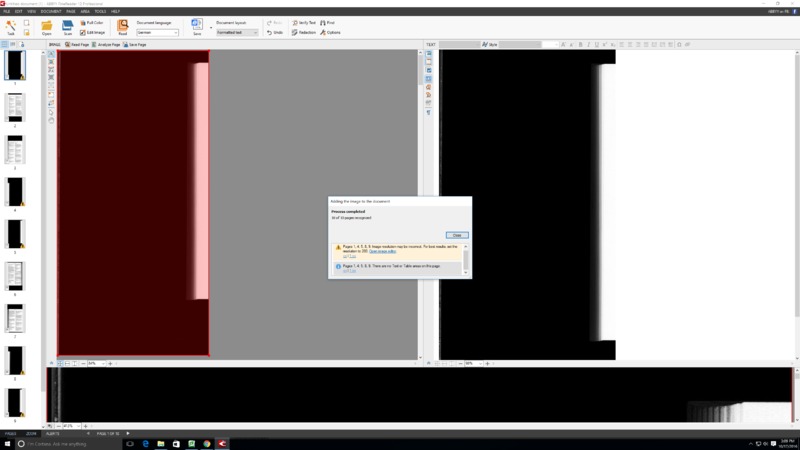
After opening the file, FineReader automatically performed the OCR, resulting in the interface shown below:
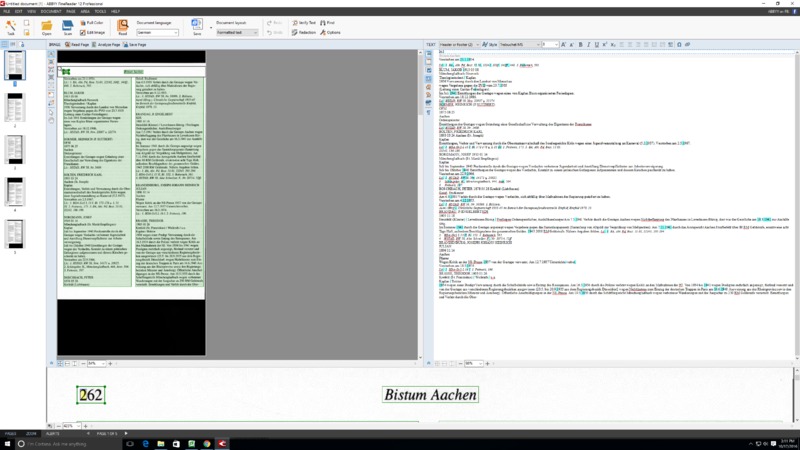
Because these scans had black space surrounding the pages, FineReader attempted to divide each page into the actual, relevant page and the blackspace; this is why FineReader recognized a total of 10 pages, instead of 5. The selected page in the screenshot is an example of such a blackspace page. As noted in the pop-up window, FineReader was unable to find text on these blackspace pages, as expected. To correct for these extra pages, I simply closed the pop-up window and deleted the pages of blackspace by selecting them on the left panel, right clicking, and selecting 'Delete.' In this case, I was left with 5 pages and the following interface:
The recognized text for the selected page (in this case, the first page) appears on the right panel. Overall, FineReader did a very impressive job of OCRing the text. This is due to a number of factors: the characters on the page were printed recently and are consistent, the formats of the biographies are easily-parsable, and the pages are clean. The characters highlighted in blue on the right panel are characters that FineReader identified with less confidence. I performed a manual check of many of these characters, and FineReader correctly identified the characters as well. Thus, I was able to accept the output of FineReader's initial pass directly.
Note that I also manually sorted the pages on the left panel such that they were in increasing order by page number in order to correct for the times that I scanned the pages of a given Bistum out of order. In reality, the only cases in which this was essential were the cases in which I scanned two consecutive pages because a biography was split across two pages; however, I sorted all of the pages for bookkeeping.
With these minimal operations, I was now ready to export the Bistum Aachen biography text. FineReader provides a number of different file types for exporting. In this case, I chose to export the text as two different file types: .txt and .html. I chose two file formats in order to keep the flexibllity of possibilities open in the future regarding the actual parsing of the biographies using regular expressions.
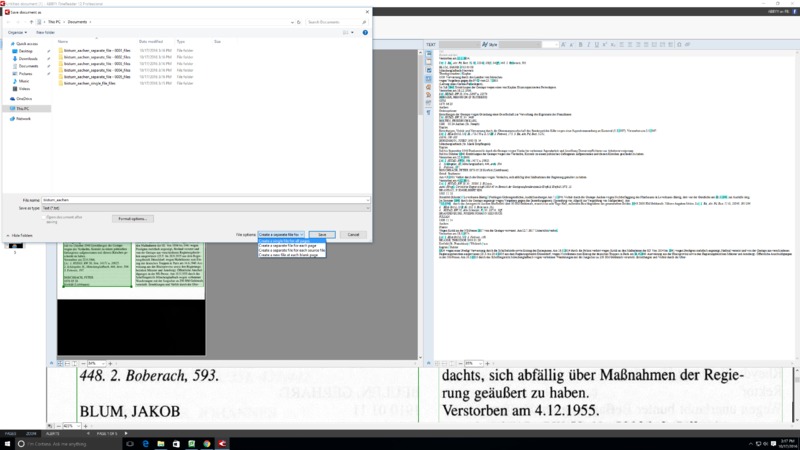
When exporting the text as a .txt or .html file, FineReader provides a number of different options, including:
- Create a single file for all pages
- Create a separate file for each page
- Create a separate file for each source file
- Create a new file at each blank page
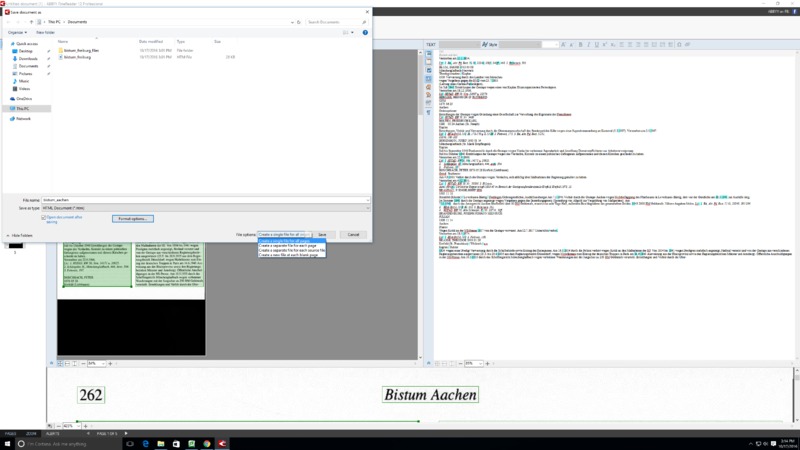
Below are screenshots showing these options for .txt and .html exports, respectively:
In my case, I chose to export using the first two settings:
- Create a single file for all pages
- Create a separate file for each page
I chose these options in order to give me flexiblity in the future, in terms of whether it is better to have the page breaks included within the files. This left me with four different exports for each batch of text:
- .txt, single file
- .txt, separate file for each page
- .html, single file
- .html, separate file for each page
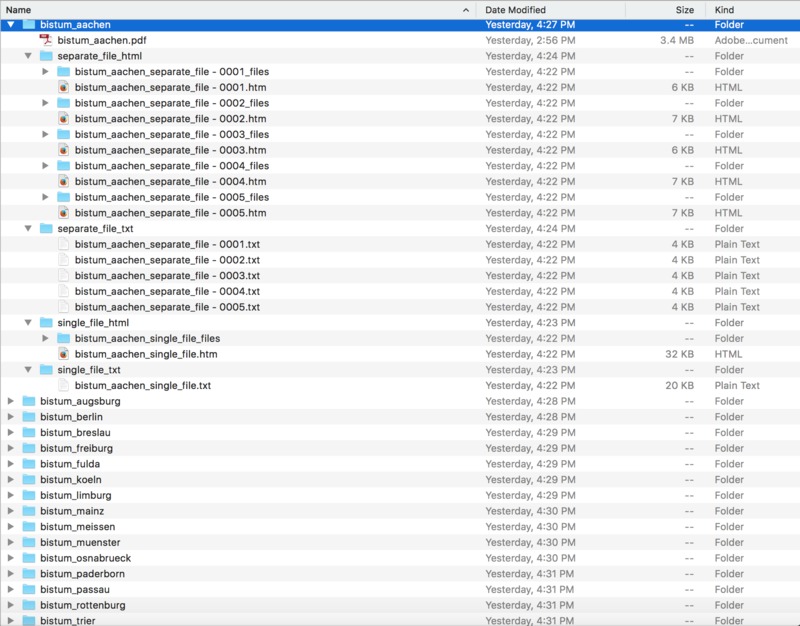
I then updated my file structure to contain these files. In particular, for a given Bistum (without loss of generality, let us pick Bistum Aachen here), I created a folder called "bistum_aachen"; within this folder, I then included:
- the PDF scans of Bistum Aachen from the previous Omeka page
- a folder containing the .html files of each separate page ("separate_file_html")
- a folder containing the .txt files of each separate page ("seaprate_file_txt")
- a folder containing the single .html file of all Bistum Aachen pages ("single_file.html")
- a folder containing the single .txt file of all Bistum Aachen pages ("single_file.txt")
A screenshot showing the structure of my file directory appears below:
